Tutorial - How to Make a Tote Bag
Posted on September 15, 2015
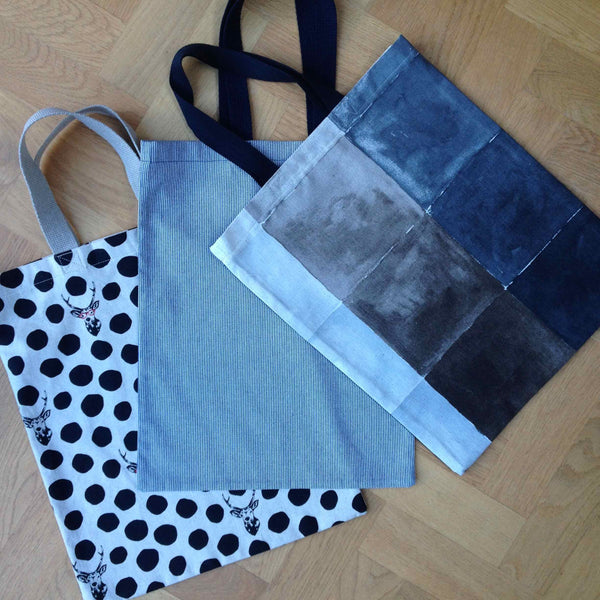
These Tote Bags are not only useful but really easy to make too! For a neat and professional finish we've used french seams, these might sound complicated but they're actually really straightforward.
You will need:
- 50cm of a medium-weight fabric, for ours we used Robert Kaufman's Railroad Denim, Nani Iro for Kokka's Water Window and Echino's Samber in Natural
- 25mm Cotton Webbing Tape, we've used a 100cm length, cut in half to create 2 X 50cm lengths
- Matching Cotton Thread, we've used Organic Cotton Thread in Beige
- Dressmakers Scissors
- Tape Measure
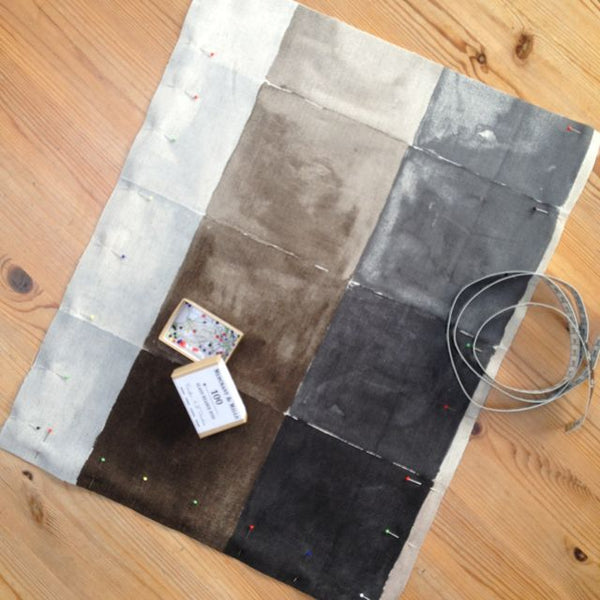
- Sewing Pins
- Sewing Gauge (not essential, but it makes turning a hem so much easier and quicker!)
- Bamboo Point Turner
To Make:
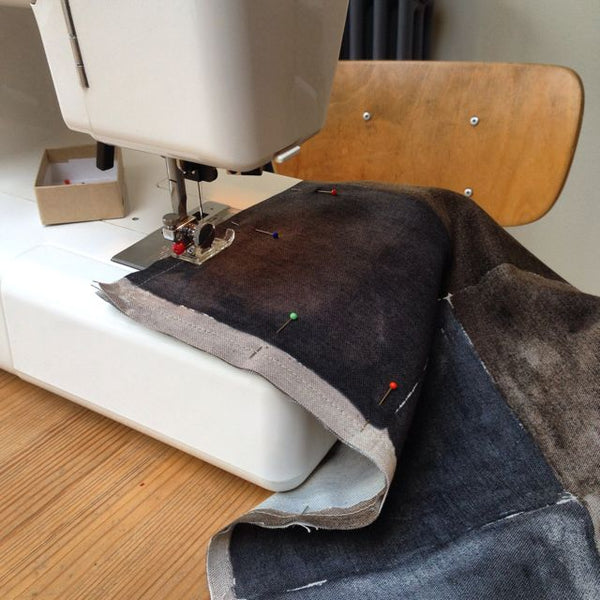

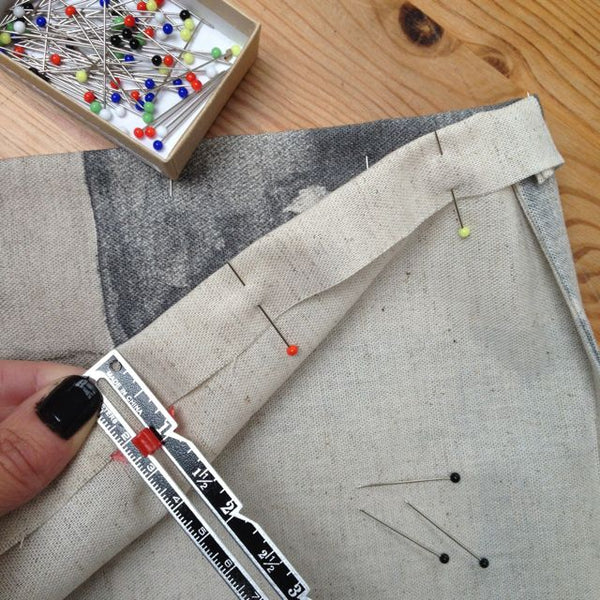
On the right side of the bag, stitch 2.3mm in from the top edge of the bag.
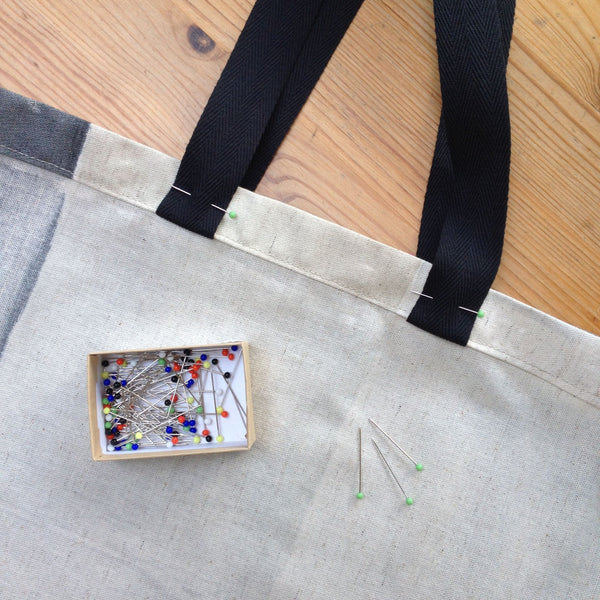
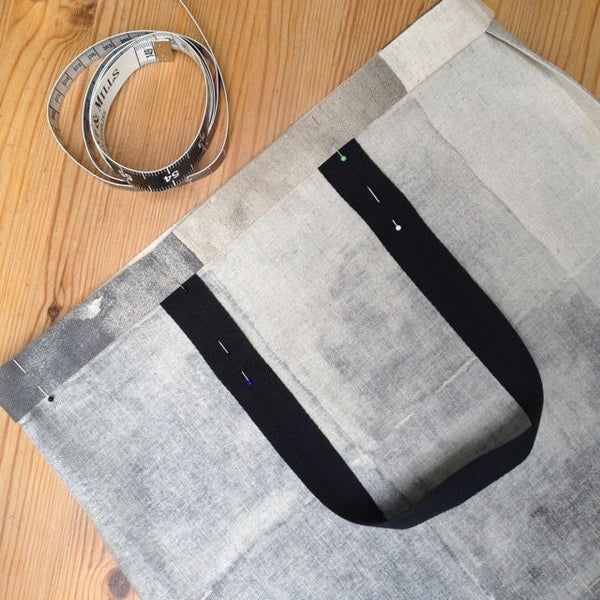
Next, turn the handle up towards the top of the bag and pin in position within the top fold.
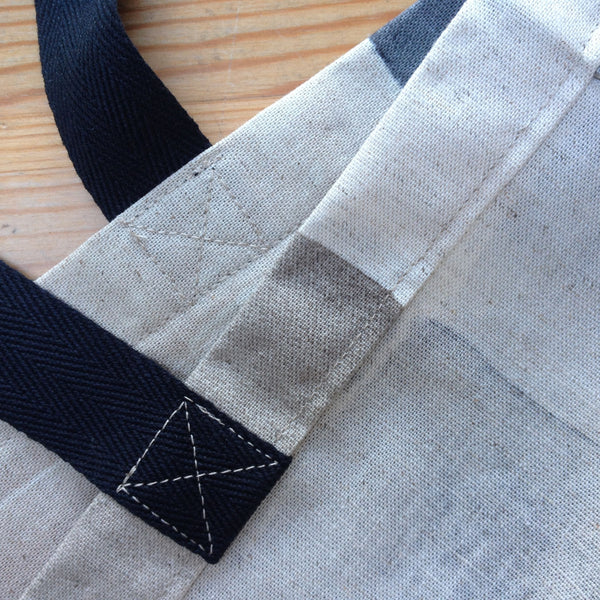
Box stitch the strap into place, as shown above.
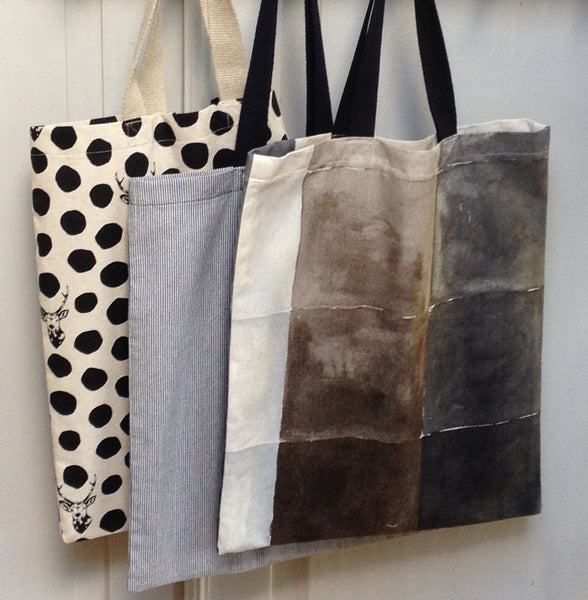
Turn your bag right side out, give it one final press and there you have it, your very own handmade Tote Bag!