
TUTORIAL • How to Make a Panelled Cushion Cover
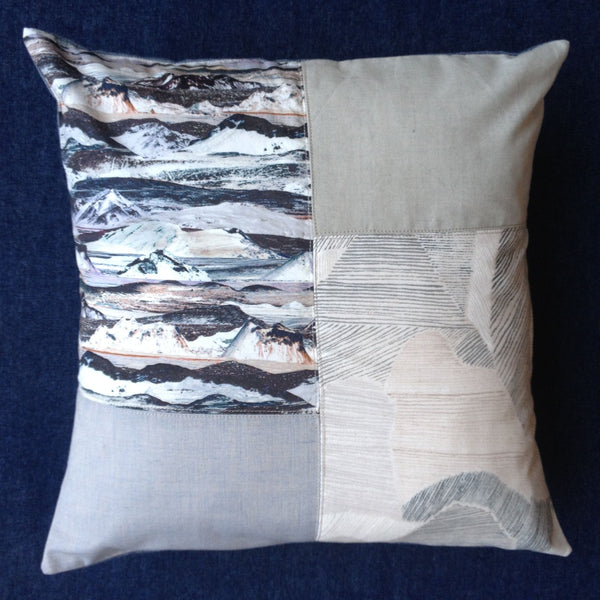
We've take our Envelope Cushion Covers a stage further with this make and introduced top-stitched pieced panels on the front to give a more designed look. It's also a great way to use up those smaller fabric off-cuts too!
For the front of our make we've mixed together our Organic Cotton Cross-weaves in Lt Blue and Natural, a remnant of Nani Iro's Mountain Views in Grey together with a piece of Liberty Manning from our stash. For the back pieces we've used Robert Kaufman's 8oz Washed Indigo Denim on the reverse side.
- Cushion insert, for the purposes of this tutorial we've chosen to make a cover for an insert measuring 40cm X 40cm, but feel free to make whatever size you prefer
- Assorted fabrics of a similar weight for the front panels; and for the two back panels, 2 pieces each measuring 42cm X 30cm.
- Matching Cotton Thread, for our make we've used our Organic Cotton Thread in Beige
- Dressmakers Scissors
- Tape Measure
- Sewing Pins
- Sewing Gauge (not essential, but it makes turning a hem so much easier and quicker!)
- Bamboo Point Turner
To make :
Pre-wash your fabrics before starting.
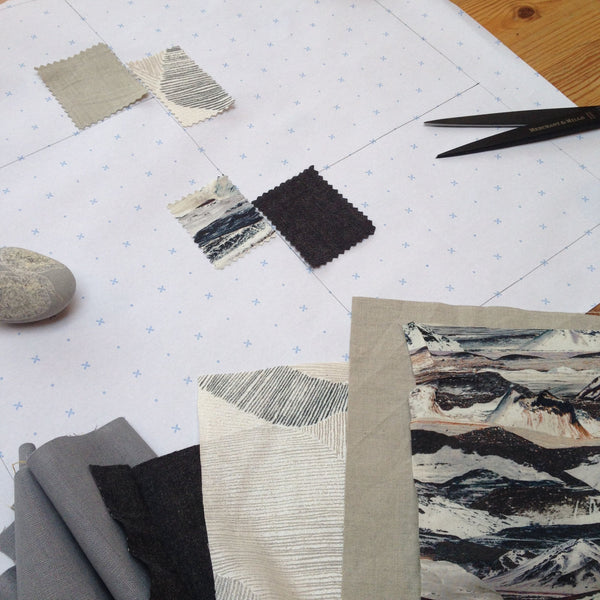
Next you will need to decide on the sizing of your front panels; for ours we've split the cover in half through the centre and then divided each of these halves further roughly into one third and two third pieces, as above, giving us the following measurements:
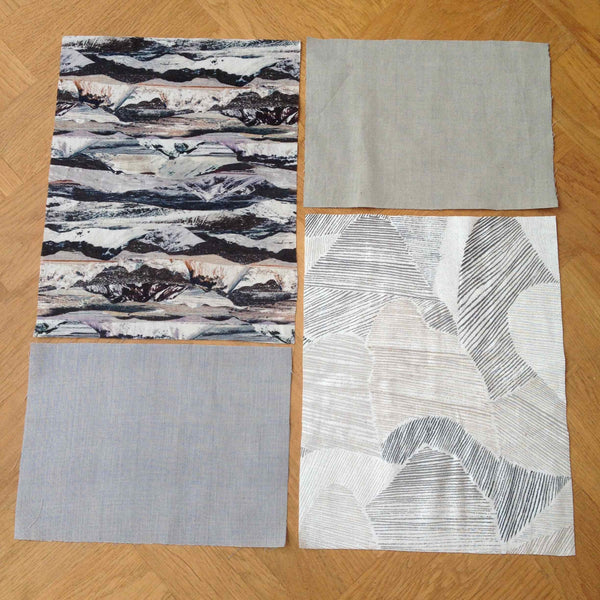
- 2 larger pieces = 22cm X 28cm (20cm X 26cm when finished)
- 2 smaller pieces = 22cm X 16cm (20cm X 14cm when finished)
Cut out your front panel pieces, and then you'll need to cut the two back panel pieces measuring 42cm X 30cm.
Starting with the front panels, pin the right sides together for each of the two sides. Stitch with a 1cm seam allowance. Press the seams open and finish with a zig zag stitch.
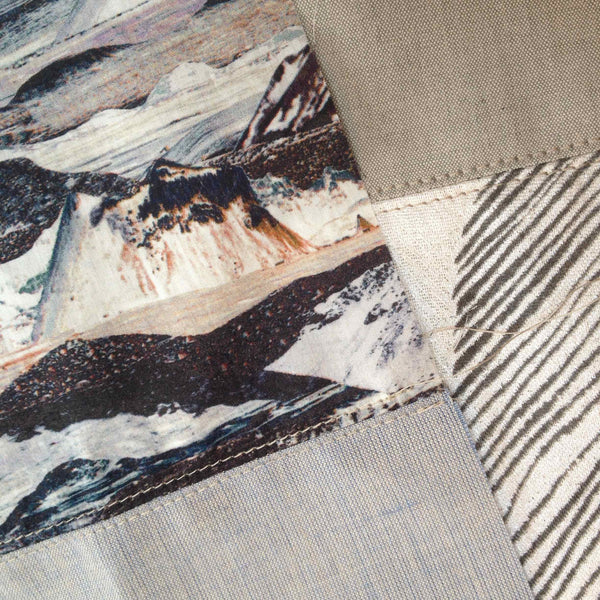
We've then top-stitched either side of this seam, as shown above, but this is optional.
Next, pin together the right sides of the two stitched side panels, stitch with a 1cm seam allowance. Again, press the seams open and finish with a zig zag stitch. And if desired finish with top-stitching either side of this seam too.
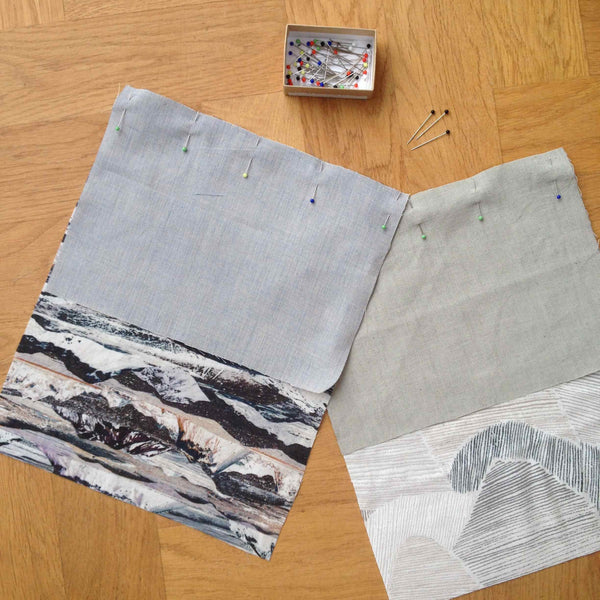
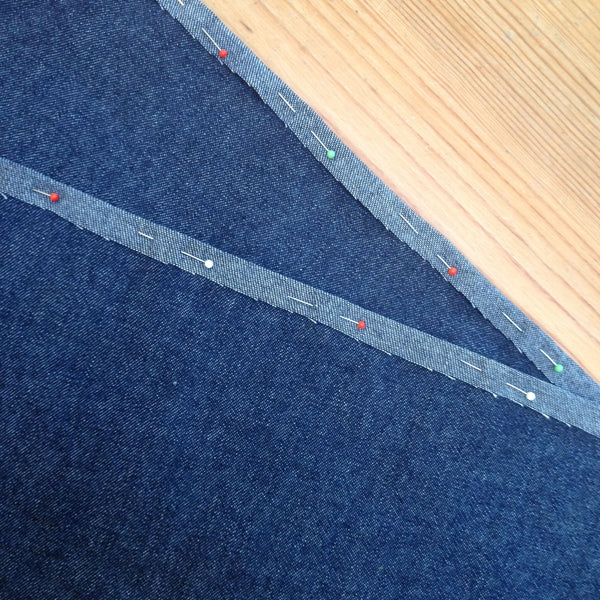 With the front of the cushion cover finished, each of the back panels need to be hemmed along one of the 42cm sides. To do this first turn a 1cm hem, pinning as you go (as shown below) and press into place; turn this hem again and iron to create a double fold hem.
Top stitch this folded hem on the right side of the fabric, close to the turned edge.

Next place the front panel piece right side up on your work surface. Then lay one of the back pieces right side down onto the front panel, with the unfinished 42cm side lined up with the outer edge of the front cushion piece, as shown above.
Then take the second back panel piece and again place it right side down onto the other fabric pieces, as with the other back piece, the unfinished 42cm side lined up with the outer edge of the front cushion piece. See our "How to Make an Envelope Cushion Cover Tutorial" for images to illustrate.
Pin these back pieces in place. Then stitch round all four sides of the cushion cover with a 1cm seam allowance, at each corner sink the needle down, lift the foot and pivot the fabric 90 degrees.
Trim the seams to 5mm, and trim the corners, as shown above, to ensure a neat finish. We finished our seams with a zig zag stitch, but again this isn't essential.
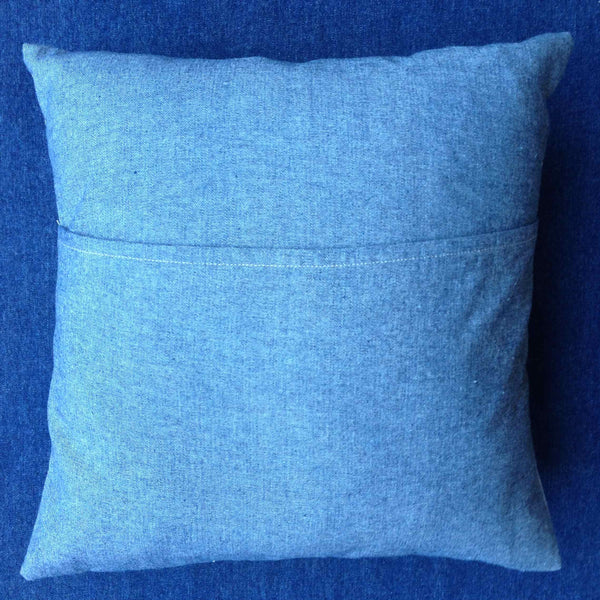
Turn your cover inside out, give it a good press and there you have it, your own bespoke cushion cover!