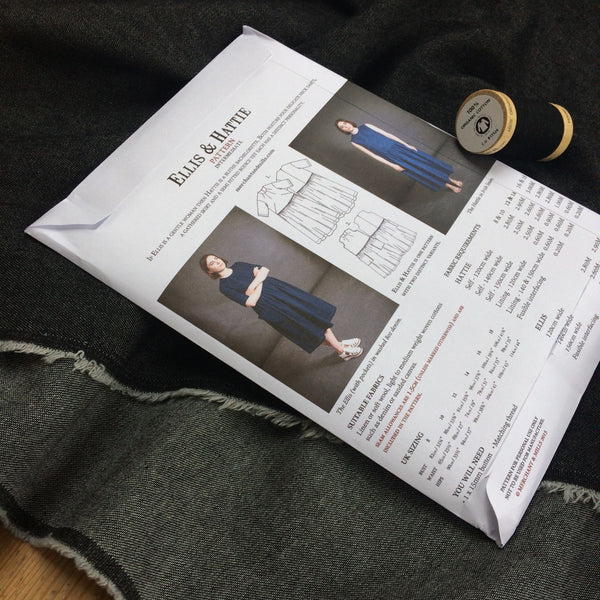
NEW • Merchant and Mills The Hattie & Ellis Sewing Pattern
We've been eagerly awaiting the launch of the latest sewing pattern from Merchant and Mills and The Hattie and Ellis certainly lives up to our high expectations!
This two in one pattern, gives you two different silhouettes, enabling you to make quite different looking dresses from the same pattern.
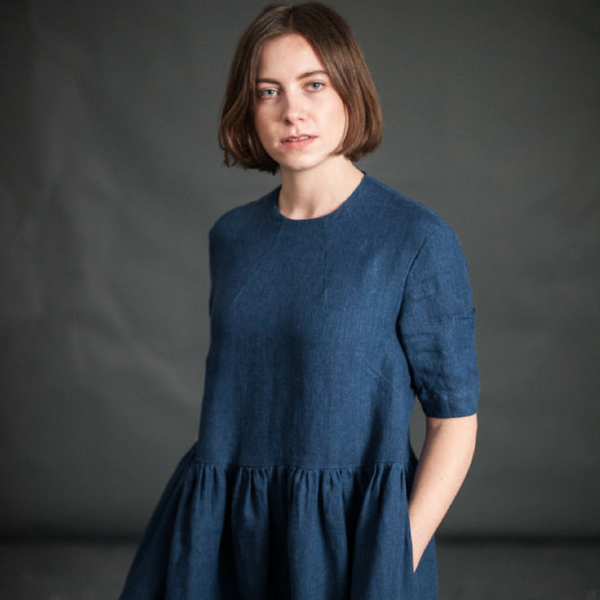
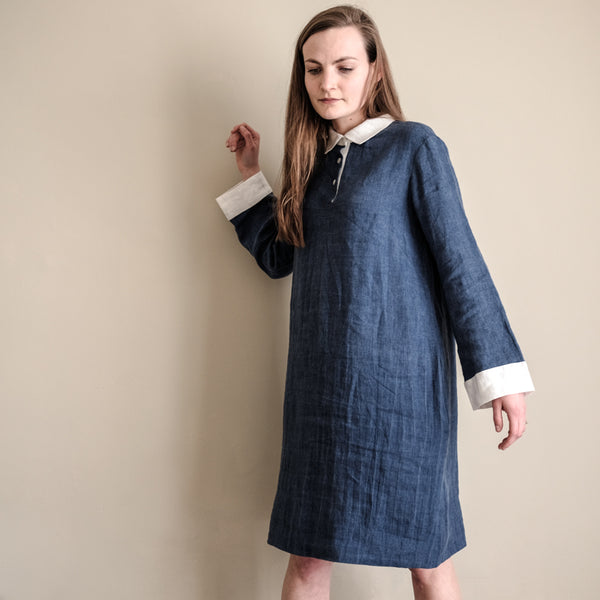
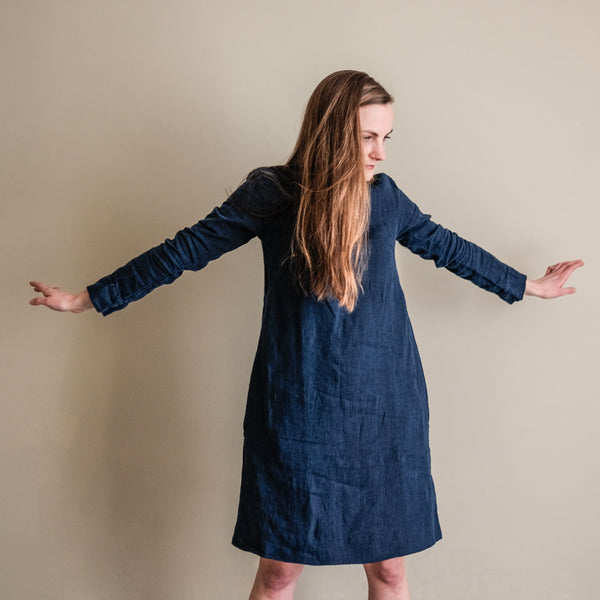
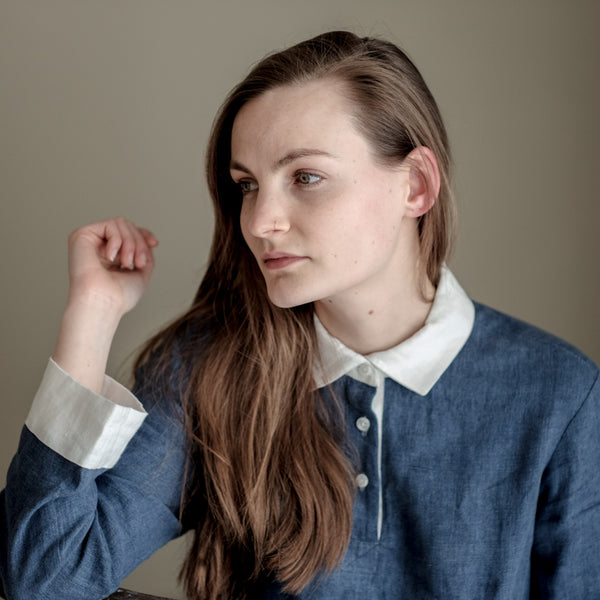
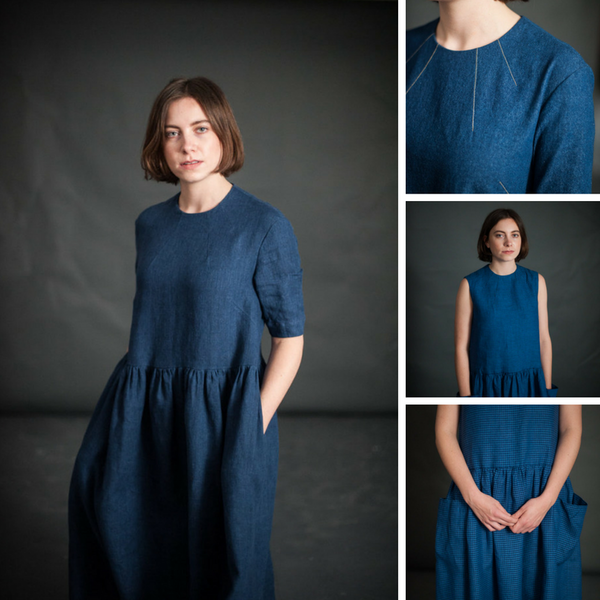
First up there's Ellis, shown above, she has some more feminine styling with the addition of bust darts, is waisted, and has set in sleeves with in-seam side pockets.
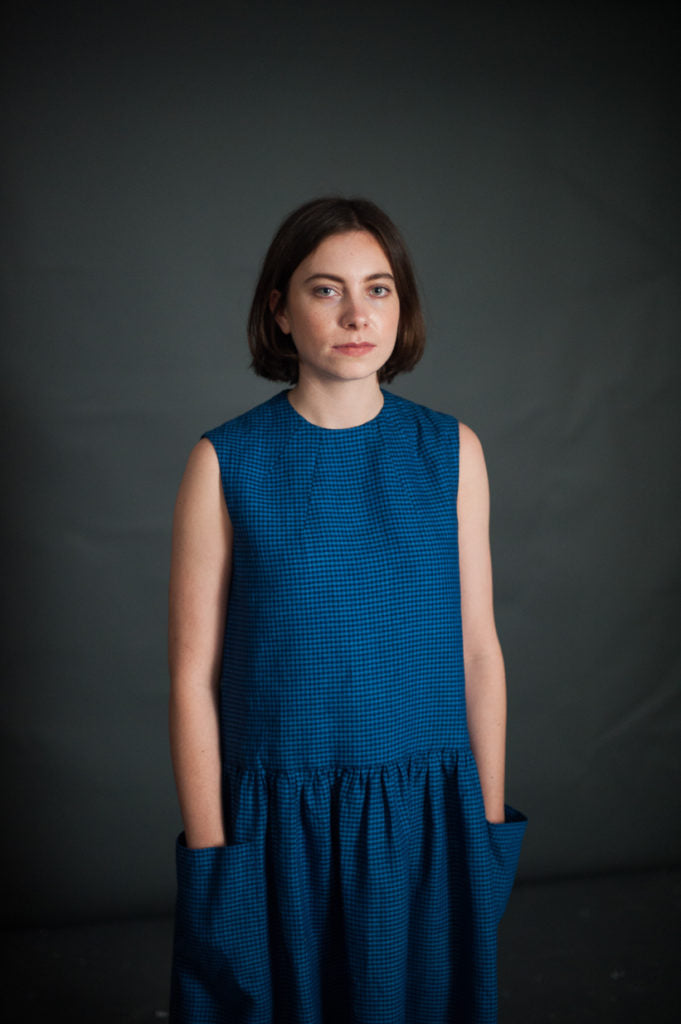
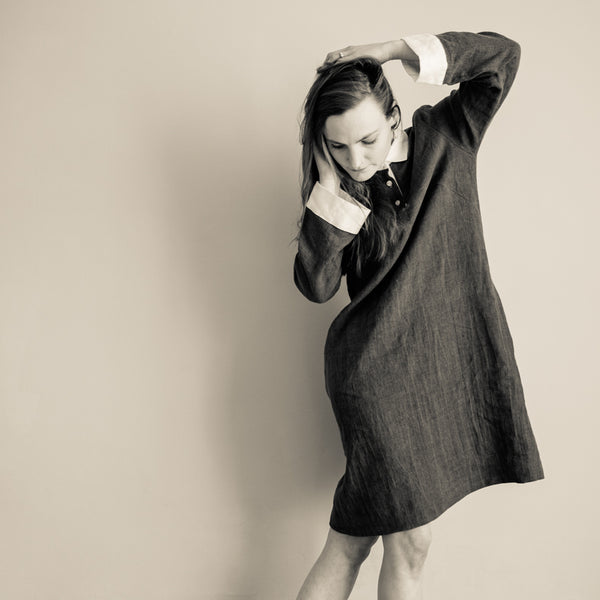
Hattie on the other hand, has a lined bodice, is drop waisted and she's also got bold patch pockets.
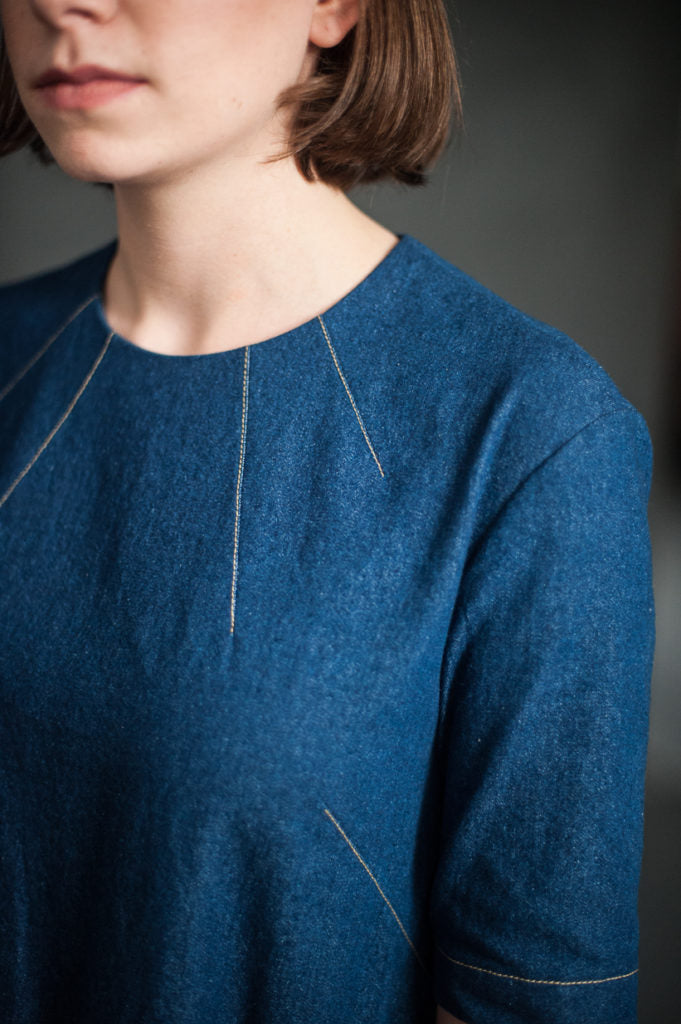
Both though, feature four delicate neck darts, which makes for an interesting and striking detail around the neckline.
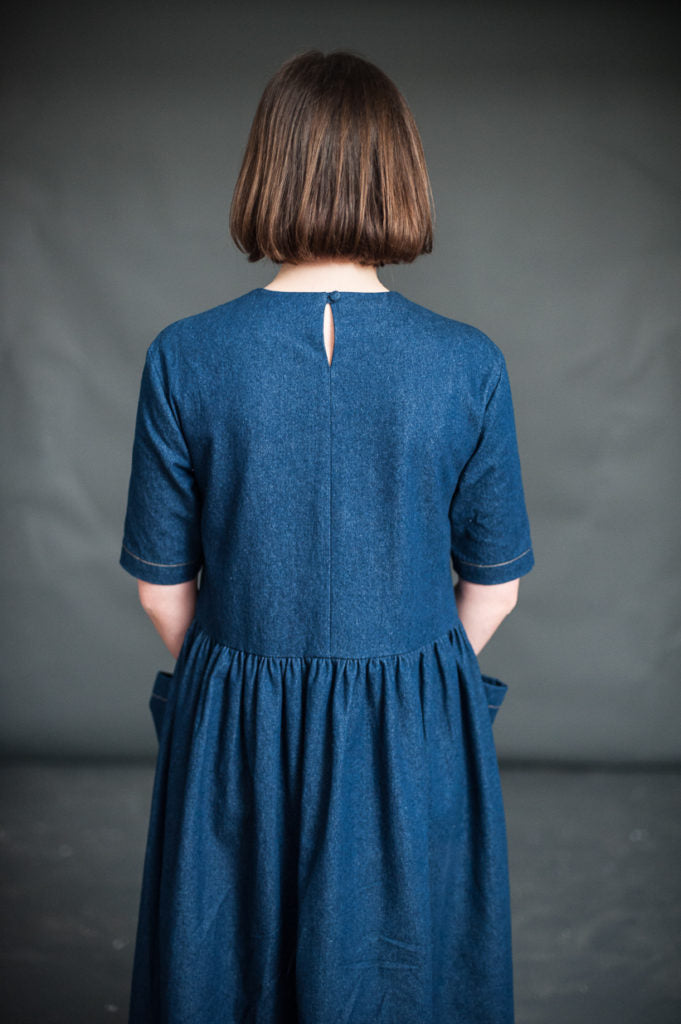
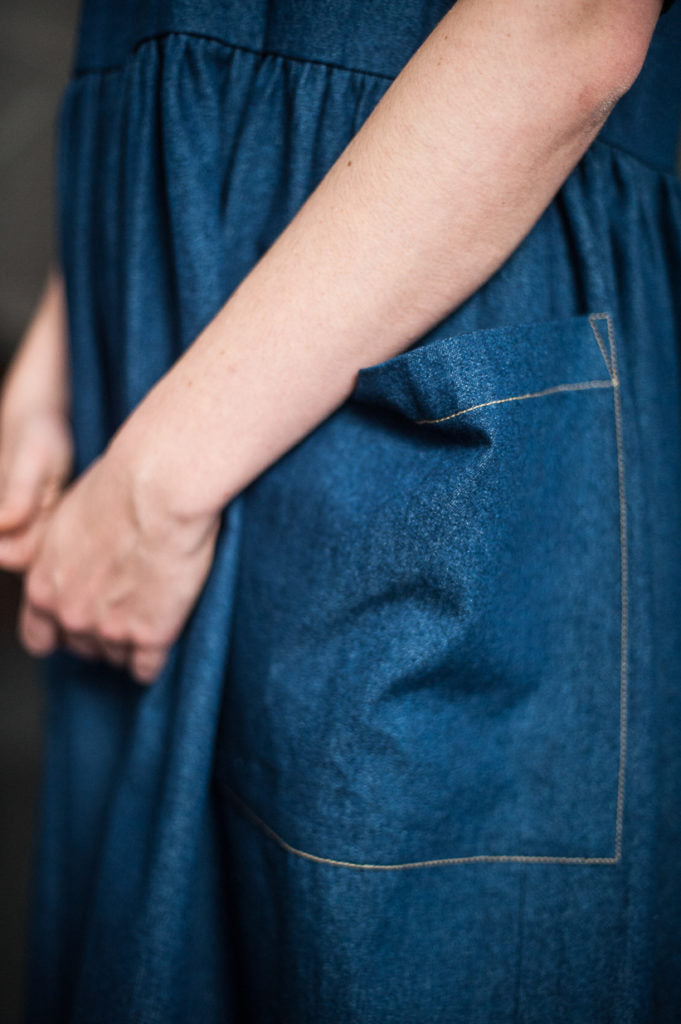
The back of both styles has a single button fastening, the Ellis above, made by Merchant and Mills in an 8oz Denim, has a self fabric covered button. And, as you can see, the patch pockets work equally well on this style too! They give Ellis a more casual look, should you wish to mix things up a little!
In terms of fabrics, we can see Ellis as the perfect dress for the party season, and think she'd look great in one of the Metallic Essex Linens, pictured below, perhaps Midnight, or Ebony. As you can see she also looks great in denim too, so more casual fabrics work equally well.
For Hattie, we love the idea of the Handwoven Stripe in Indigo, this very special fabric is handwoven in Thailand in a small weaving village, the Railroad Denim by Robert Kaufman would look equally good. As would any of our denims, one customer quick off the mark, has already ordered the Indigo Denim in Black, along with this pattern, which we can't wait to see!
For us, our first make has got to be Ellis in the Metallic Ebony, whichever one you decide on, do remember that we love to see your finished sewing projects, so please do send us a photo via the contact page.
Model shots courtesy of Merchant and Mills

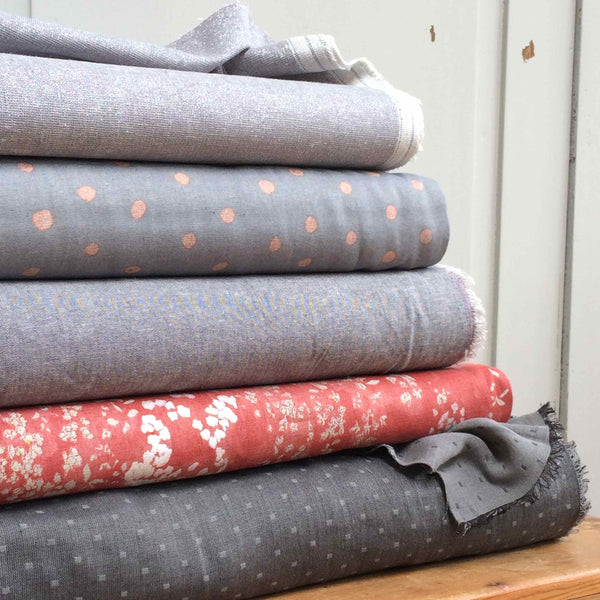
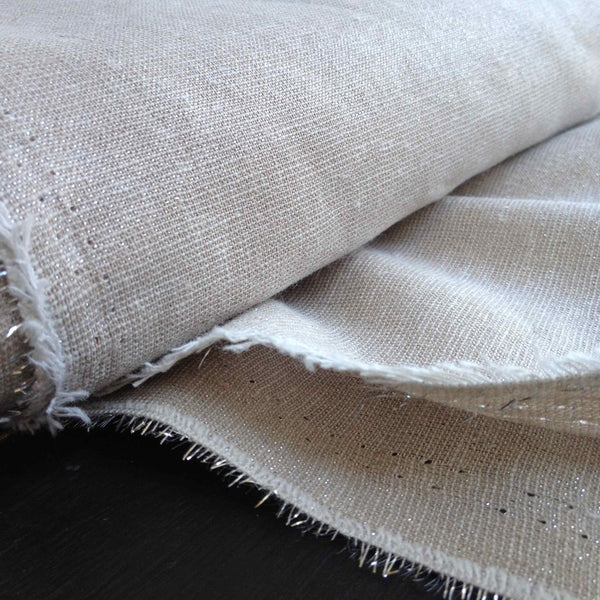
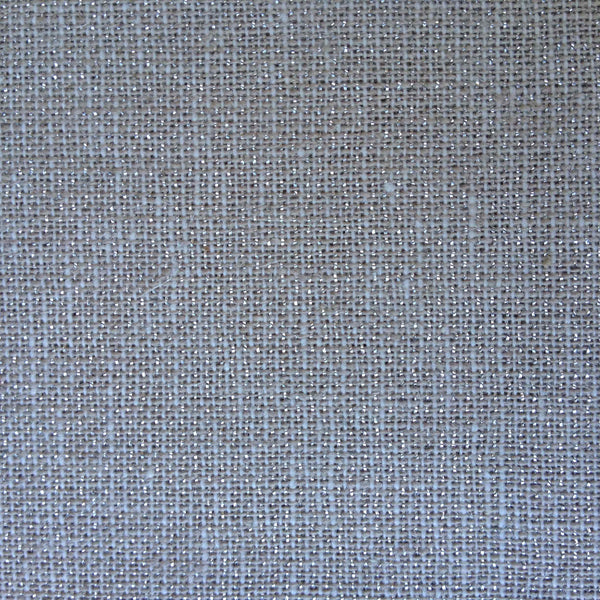
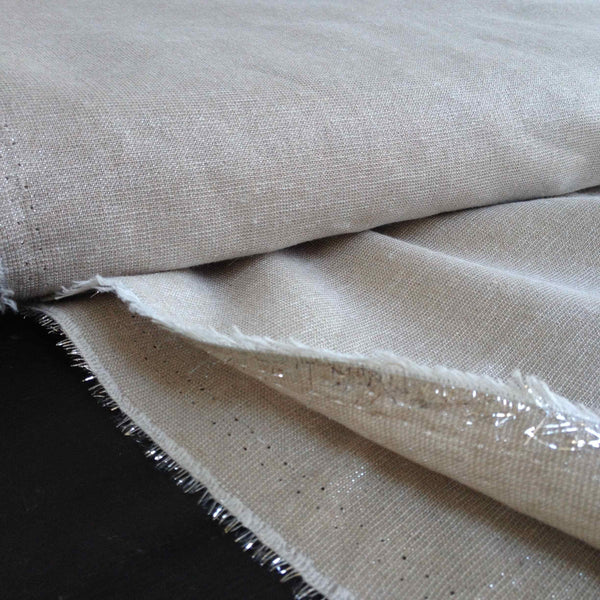
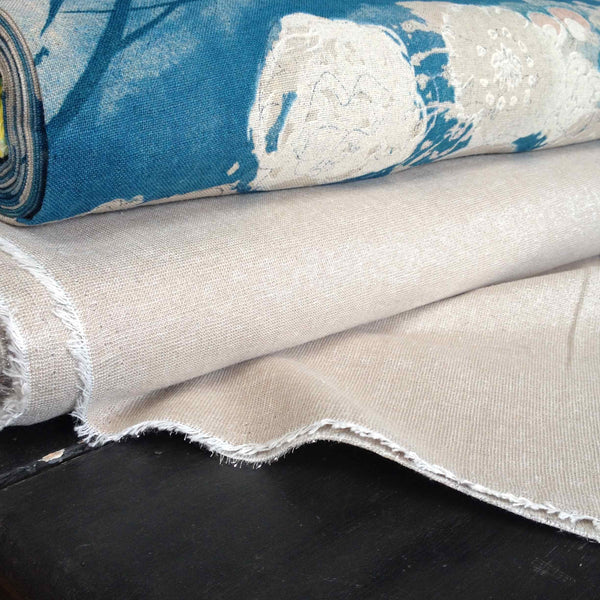
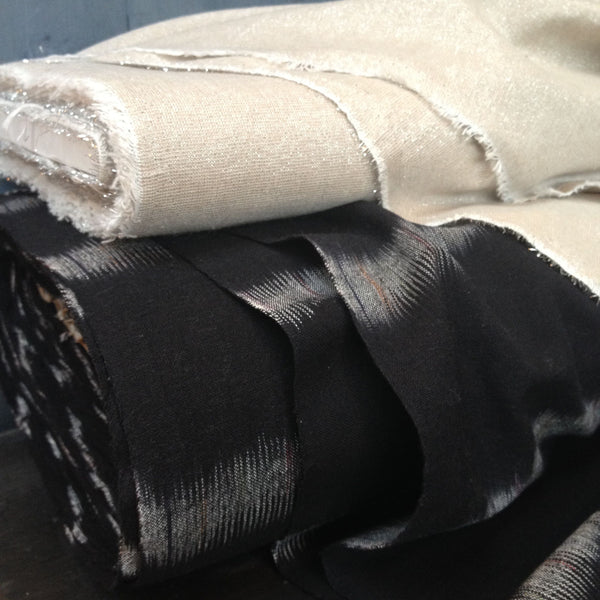
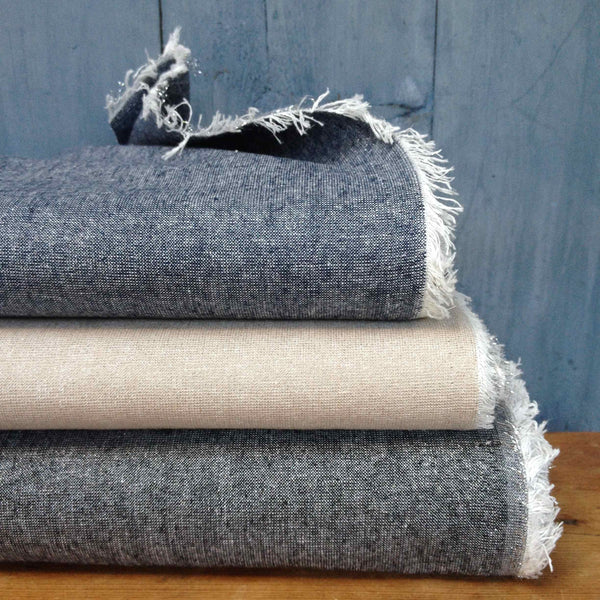
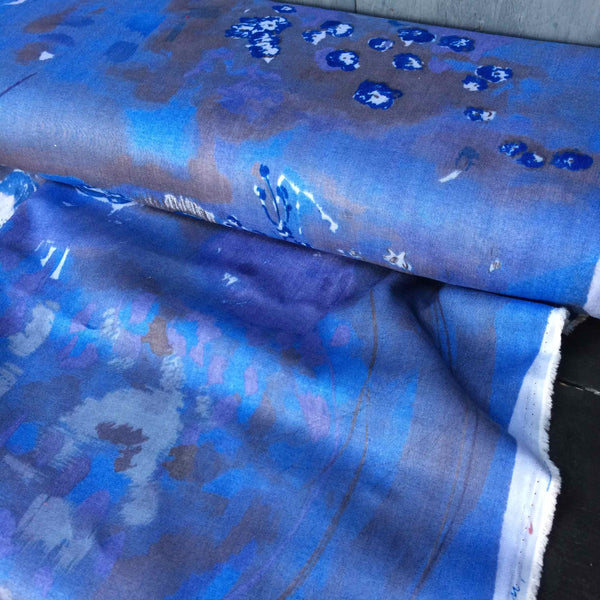 We've also added to our Robert Kaufman Range. Pictured below are some of the latest fabrics, there's Yarn Dyed Essex Linens in Metallic, such a big trend for this season; and Reversible Double Gauze Chambray Dobbys, to name but two. To see the full collection, click