Pattern Review • Colette Negroni Menswear Shirt Pattern
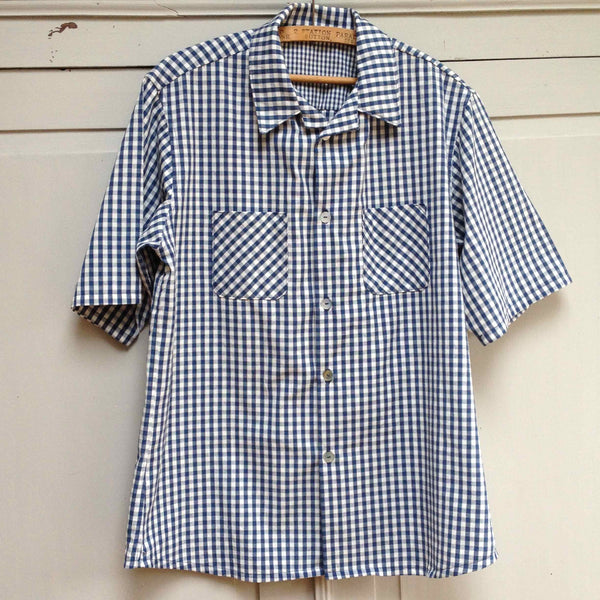
We've just road tested the Colette By Walden Negroni Shirt Pattern, and even if we say so ourselves we're pretty pleased with the end result!
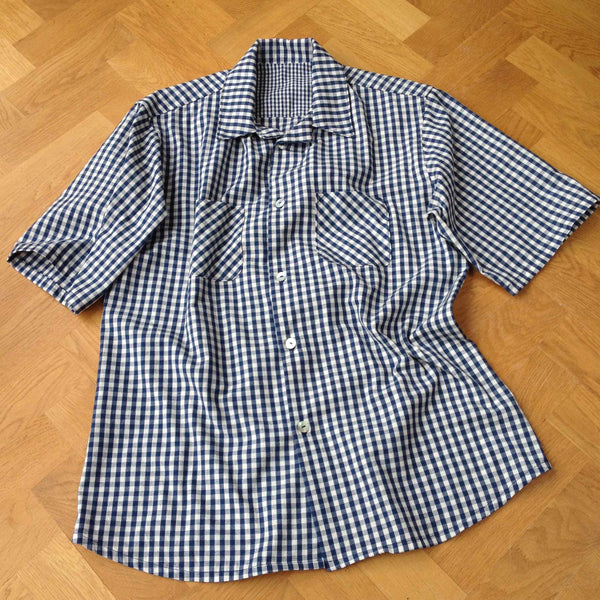 For our make, we chose the short sleeved version, but the pattern comes with a long sleeved version too, finished with a placket and cuff. We decided to made ours in our Organic Cotton Gingham in Navy.
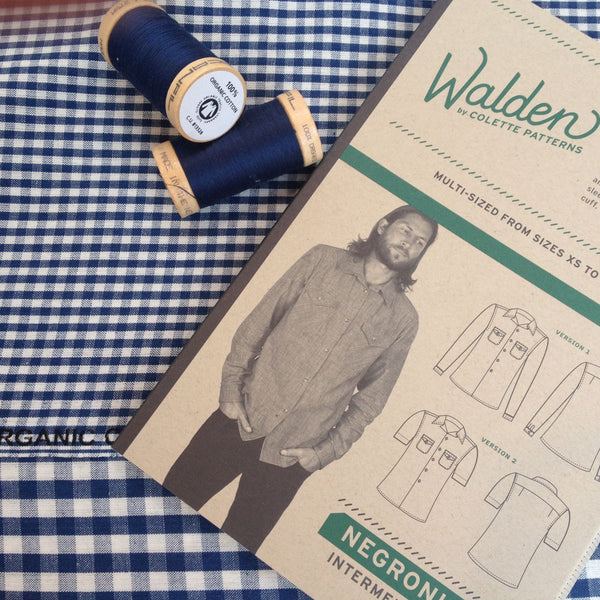
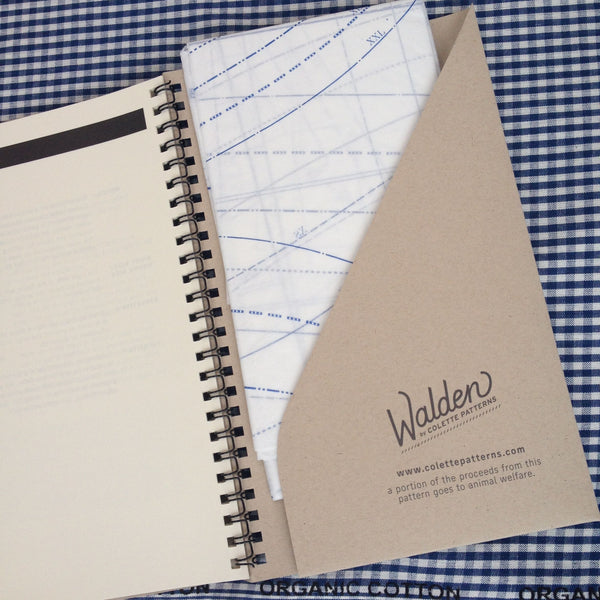
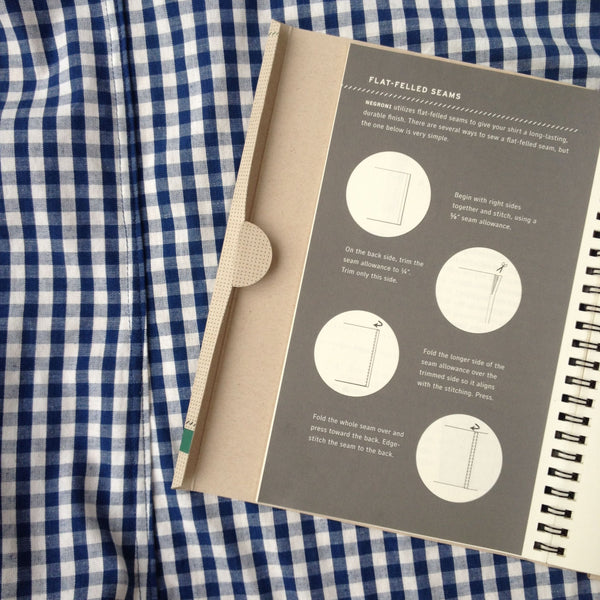
This is the first Colette sewing pattern that we've used and we have to say that we were really impressed. The instructions for the pattern are in a spiral-bound booklet, making it really easy to use, and it has a pocket at the back to store the pattern pieces once you've used them.
We love that the pattern instructions include lots of ideas for customising your sewing project to make it your own. Plus they also refer you to their website for free downloadable variations, such as the pockets for this shirt.
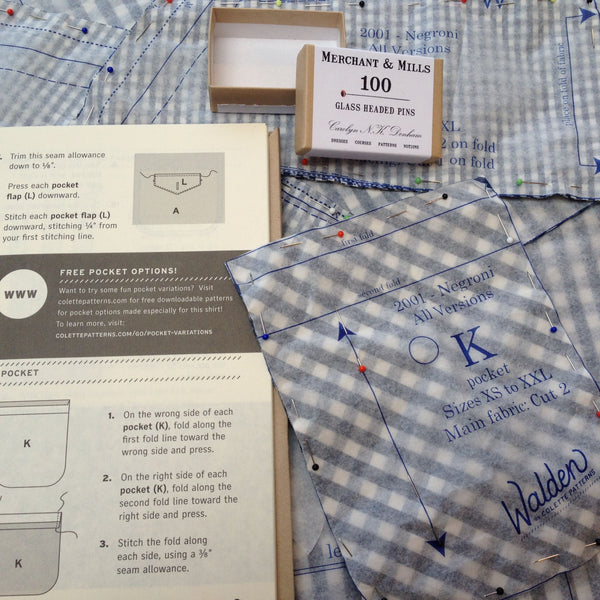
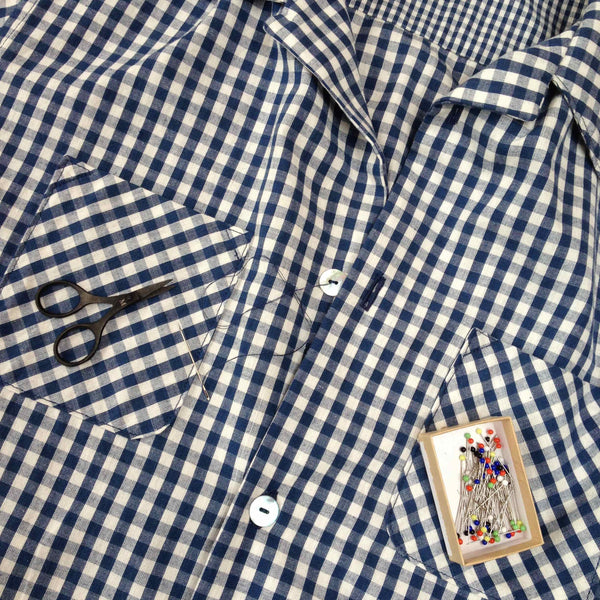
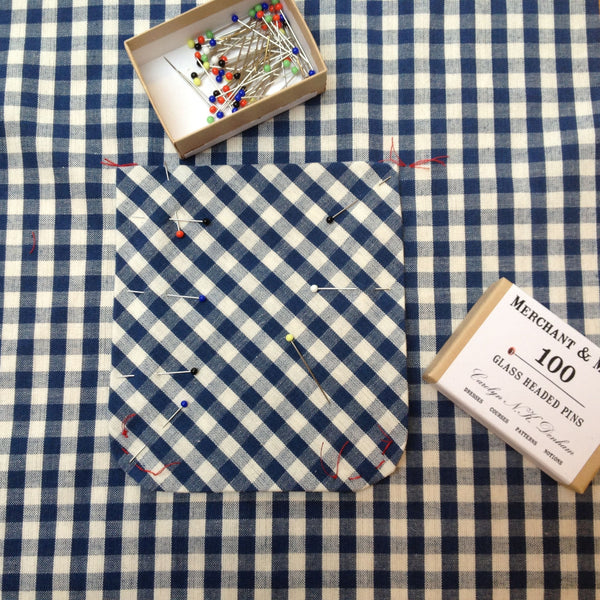
The instructions are really comprehensive, taking you through each step in the process of making a well crafted shirt. The instructions also include handy tips, such as how to make perfectly formed patch pockets by cutting a template out of cardboard to help with pressing, simply make it the same size as your pocket piece, minus the folds and seam allowances as we've done below.


We customised our shirt by cutting the pockets on the bias, as shown below, and we used the Small Check Gingham, again in Navy, for the underside of the collar and the inner back yoke. Even small details like these can take your make to a new level; and give you the chance to get creative!
This was the first time we'd tackled a garment with an inner back yoke, however our concerns were soon put to rest, as the step by step instructions and illustrations are really clear and before we knew it the need was done!!
The other sewing process that we tried before was "felled seams" these give a long-lasting durable finish and they also give a look very professional to your garment. Again, there are really good instructions for these, seperated out in the sidebar, so that they can easily be referred to, so nothing to fear!
These seams are used for both the sleeve and side seams. Once that's done it's pretty straightforward assuming you've made buttonholes before. It's simply a question of hemming the sleeves and body of the shirt, stitching the buttonholes and attaching the buttons.