
Ann Ringstrand Sewing Pattern Book Review
I was so excited to discover Swedish design brand Ann Ringstrand via Instragram. I love her modern aesthetic and stylish designs. With many years in the fashion industry, Ann specialises in creating fashionable patterns for home sewing.

Ann's focus is on everyday fashion with good wearability and durability. She takes her inspiration from men’s fashion and old working clothes, combining modern design with traditional crafting. She is very fond of conventional “well-dressed” looks, but also mixes in influences from the street fashions of major cities.
The style is unisex, with a strong emphasis on classic tailoring and functional uniform details like pockets and linings. Her style is often described as Scandinavian minimalism with elements taken from international trends.  To achieve a personal expression, Ann likes to combine modern design with traditional crafting. Her style is also influenced by her mum, who sewed, wove, quilted, and patched throughout her childhood.

For several years Ann ran the successful Swedish brand Hope, leaving in 2017 to set up a new design company in New York. In 2019 she was approached by The Swedish Publishing House Bonnier Fakta and returned to the world of fashion to create a book of home sewing with full scale paper patterns in her own signature style.
Ann quickly discovered a gap in the market between the fashion industry and world of home sewing. She was also keen to address some of the environmental challenges within the fashion industry and embrace a more sustainable approach.
 Her first book, Sew: 10 New Fashion Styles contains a collection of that you can sew for yourself. There are ten stylish key sewing patterns, including shirts, dresses, a kaftan, trousers, a blazer, and a coat. Included with the book are full-scale paper sewing patterns for you to trace off and use.
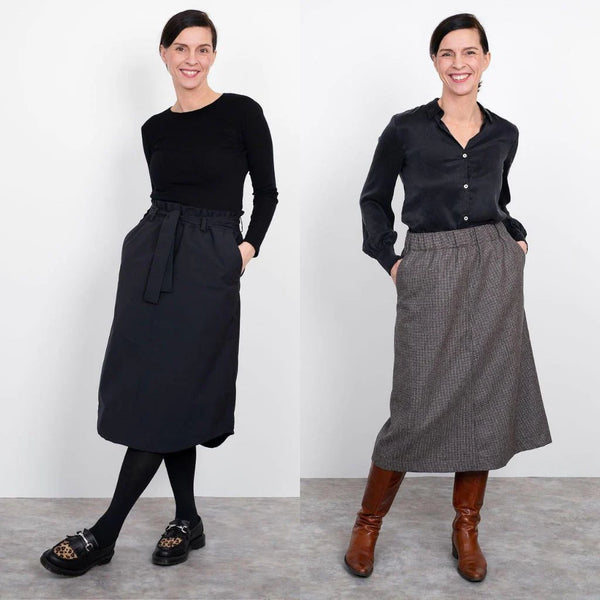
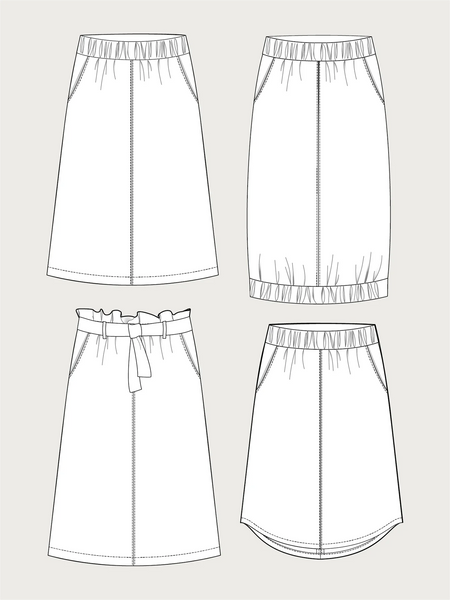
 Following the success of Ann's award-winning first book, a follow up Sew: 10 Matching Key Styles for Your Wardrobe was published. Step by step, Ann guides you through the creation of a mini collection of your own, consisting of a coat, jacket, blazer, waistcoat, dress, skirt, two trousers, and two shirts.
 This isn't just a sewing pattern book, it also contains lots of valuable advice around building a capsule collection of handmade clothes including how to select your colour palette and finding fabrics.
 One of the many things that I love about these books, is that Ann gives design tips to the reader on how to style and wear your handmade piece of clothing. And with so many great styles to choose from I can't wait to get started....


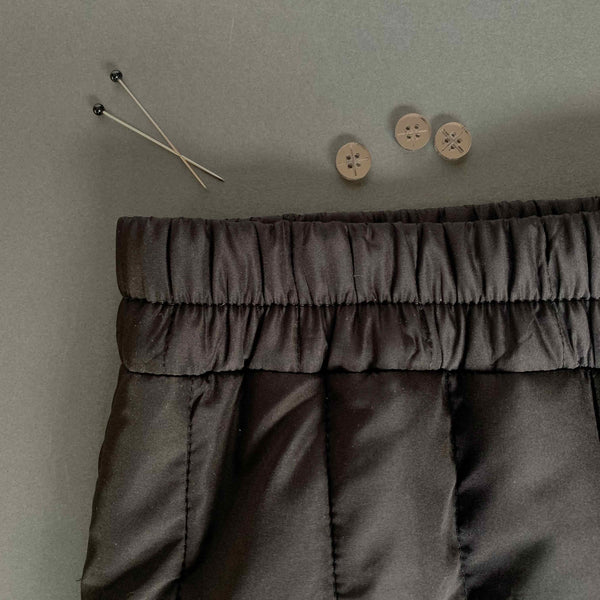

 I decided on the top for my first make of this lovely style and chose to use a Nani Iro tencel fabric with this lovely painterly border detail.
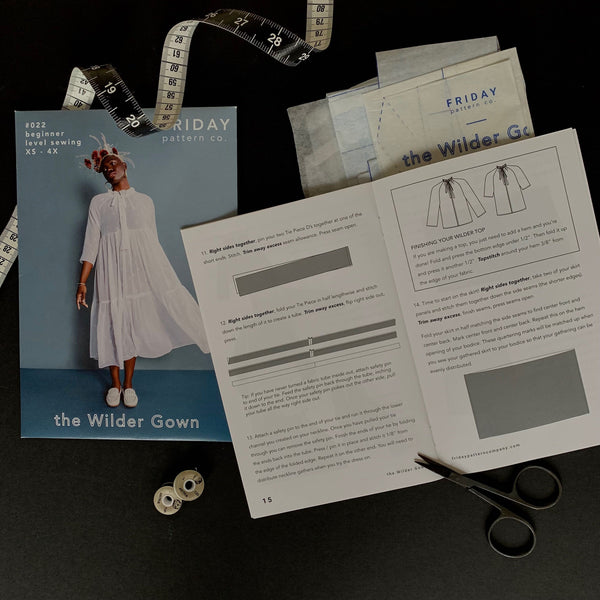

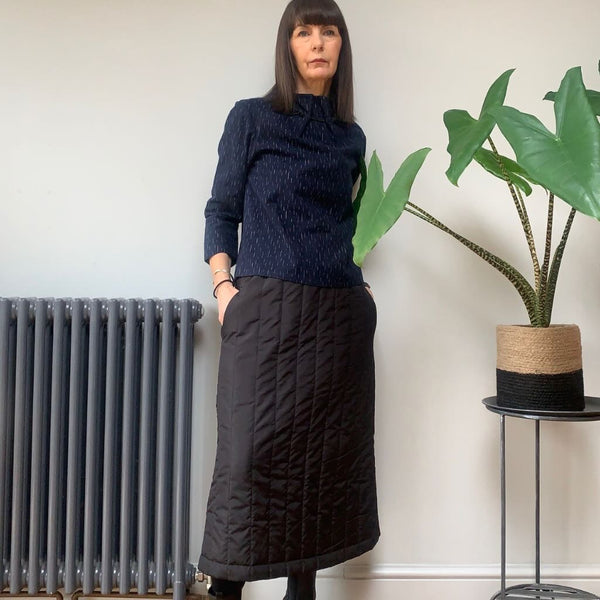
 I didn't make any modifications to my top and in terms of sizing I'm a UK size 8 and I made the XS size which fits me perfectly.
 I'll definitely be making this again, I'd like to make a long sleeved version of the top, for this I'm thinking the Eglantine et Zoe Zebra print in
  Most of all, what I really love about the top is that it really does elevate an outfit and I always feel really good when I wear it, and as I mentioned just now I'll definitely be making more...