We love Christmas and have been busy sourcing new and unusual stitch kits & sewing accessories for our customers to gift this year. We have also been developing our own unique sewing kits using some of the beautiful designer fabrics that we stock! It's been a busy few months but well worth it to bring together a collection of contemporary, fun products and gifts.

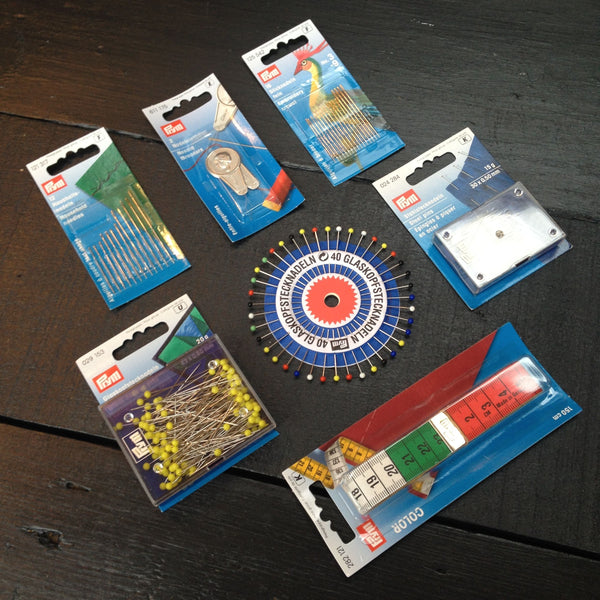
We never cease to tire of the beautiful way in which Merchant & Mills package and present their products. Even the humblest of products such as a box of sewing pins is elevated to "must-have" status due to their stylish branding and packaging! If you've a modest budget, then why not select a few of their sewing notions and create your own bespoke gift. You could present these items in a glass jar or a gift box. Either way, the contents are sure to delight!

If you're unsure which items to chose, then why not take a look at our Merchant & Mills Needles & Notions Set? We've carefully selected our five "must-have" items, ones that we simply couldn't do without when sewing, and brought them together in the boxed set below.

Merchant and Mills Rapid Repair Tin is another great gift item, and reasonably priced at £15.00; or there's the Leather Needle Wallet, which includes a pack of the 25 Finest Sewing Needles and a free pair of Baby Bow Scissors!
We've a great range of Stitch Kits for you to choose from, most of which are suitable for beginners, making them an ideal gift.
When we were researching products for our launch range last year we were so excited when we stumbled across Heather Lins Stitch Calendar Kits on Pinterest and simply had to stock them! Judging from the response we had to them, you loved them as much as we did, so they're back again this year, but repackaged in clear plastic boxes.

Choose from Stitch the Stars with the corresponding constellation for each month in "glow-in-the-dark" ink and embroidery thread; or The Year in Stitches, which is a modern take on the cross-stitch sampler. Both are really easy to stitch and are suitable for those with little or no sewing experience. At just £17.50 these calendars make a really unusual gift.
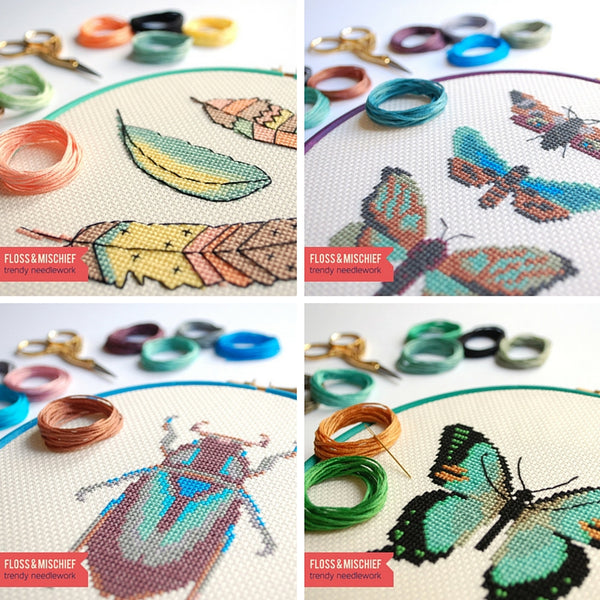
New for this season we're delighted to have a selection of Floss and Mischief Cross-Stitch Kits. These contemporary kits bring the art of counted cross-stitch right up to date with their modern take on the weird and wonderful world of taxidermy! A great gift at £15.00.
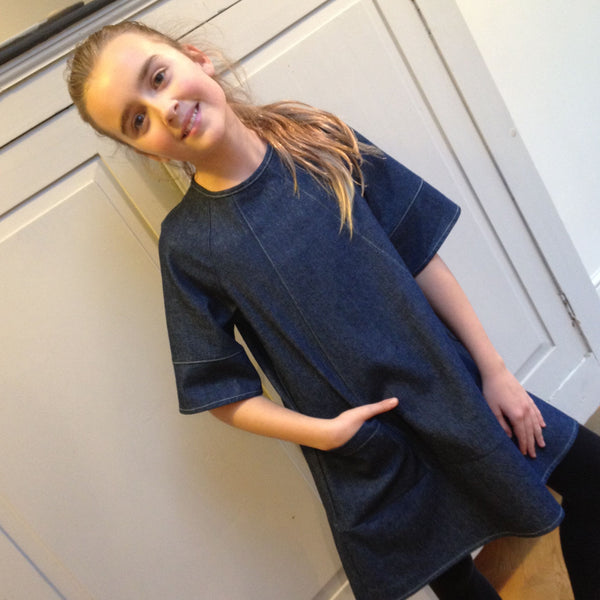
We're also really thrilled to have recently launched our own label Sewing Kits. We've deliberately started with projects suitable for beginners but have selected fabrics that will also appeal to the more experienced sewists out there.

Choose from a Cushion Cover Kit or Tote Bag, both in a selection of designer fabrics by Kokka and Robert Kaufman.
We've been adding to our collection of Sewing Patterns throughout the year, so why not select two sewing patterns for the dressmaker in your life? We'll then tie them with gingham ribbon at no extra cost; simply state your chosen colour (Red, Black, Green or Grey) in the comments box at the Checkout.

We hope we've given you a flavour of the products that we've lovingly selected over the recent weeks and months; and that we've also given you some inspiration for your Christmas shopping? Do remember that we also sell gift vouchers which can be redeemed online at a future date!
If you're still unsure, please do feel free to email us via the contacts page and we'll try our best to help you find the perfect gift for the creative in your life!


 Whatever you decide on it's sure to make the perfect gift!